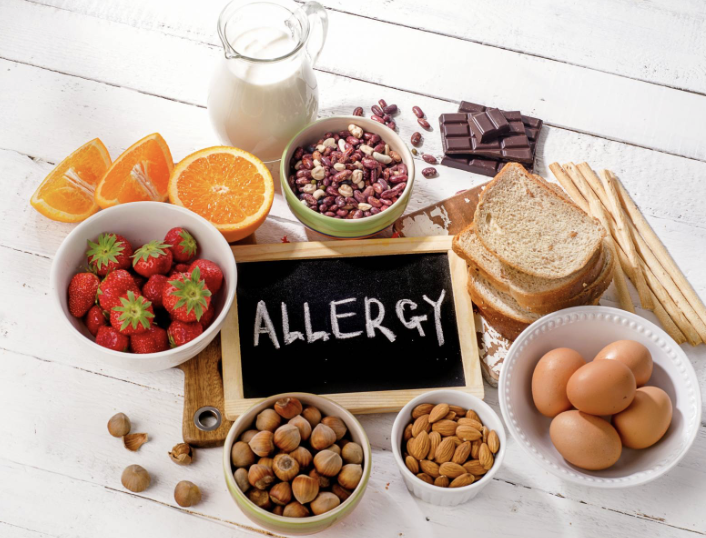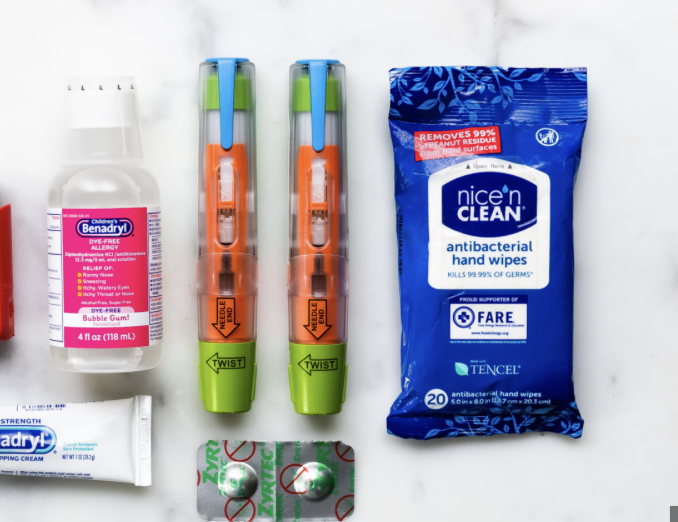

When you live with a nut allergy, you quickly learn that this danger doesn’t just come from obvious foods like peanut butter cookies, granola, or trail mix. In reality, some of the trickiest risks to identify hide where you least expect them. That’s why in this post, I will be going over a list of many products that you would never expect to fly under the radar, having possible nut-allergen exposure.
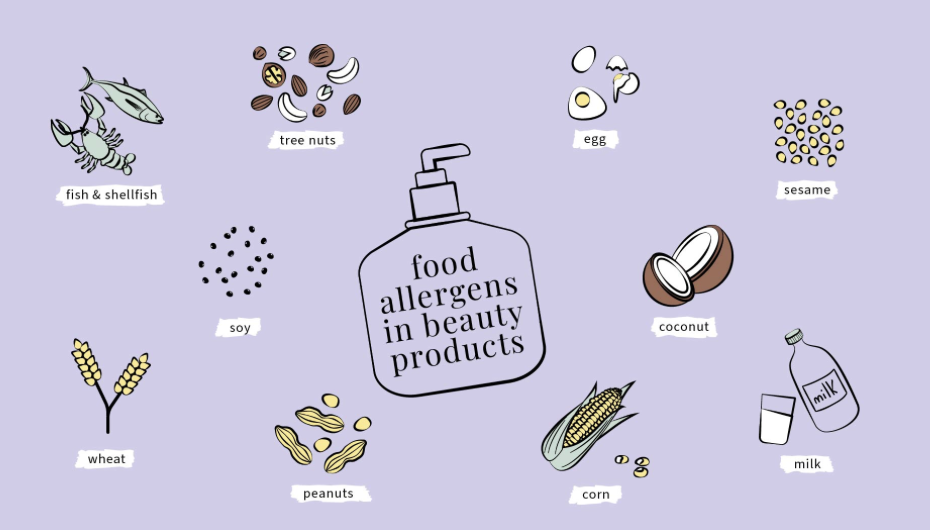
1. Shampoo and moisturizers
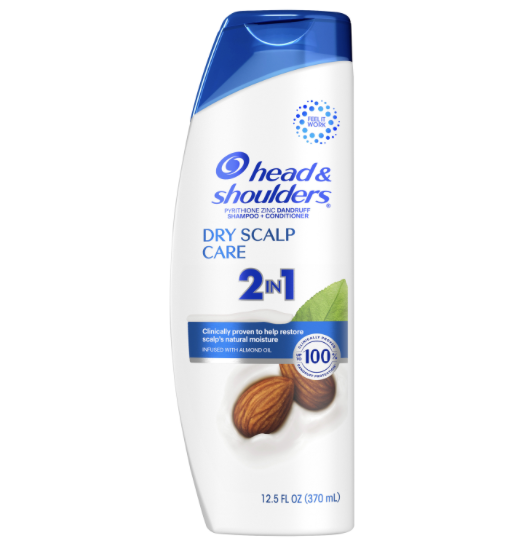
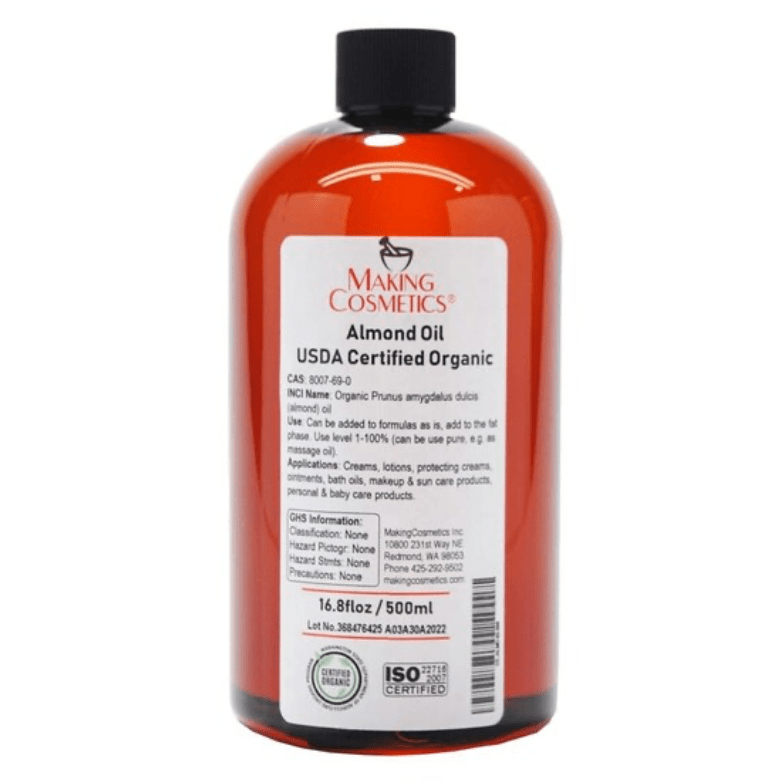
That moisturizer, face scrub, or shampoo might seem harmless, but ingredients like almond oil, shea butter, or “nut-derived extracts” can be hidden sources of allergens inside these products. Even if you don’t ingest them, accidental contact with your mouth or eyes can trigger a reaction. Always check ingredient lists, especially when going to nail salons for manicures and pedicures, the hair salon before a haircut, when they wash your hair, and places such as facials with all the many specific moisturizing products used.
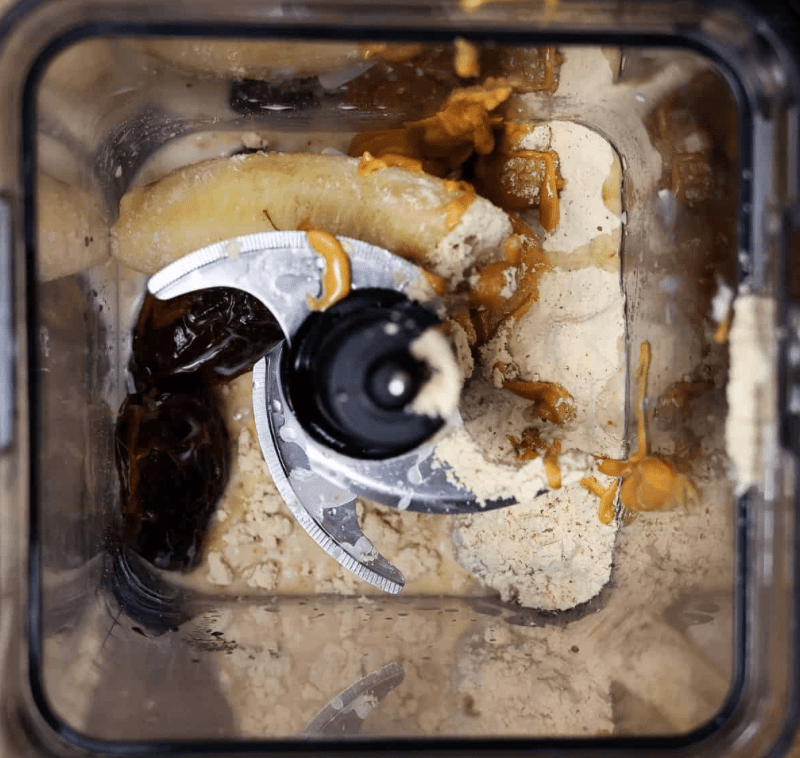
2. Protein Powders and Supplements
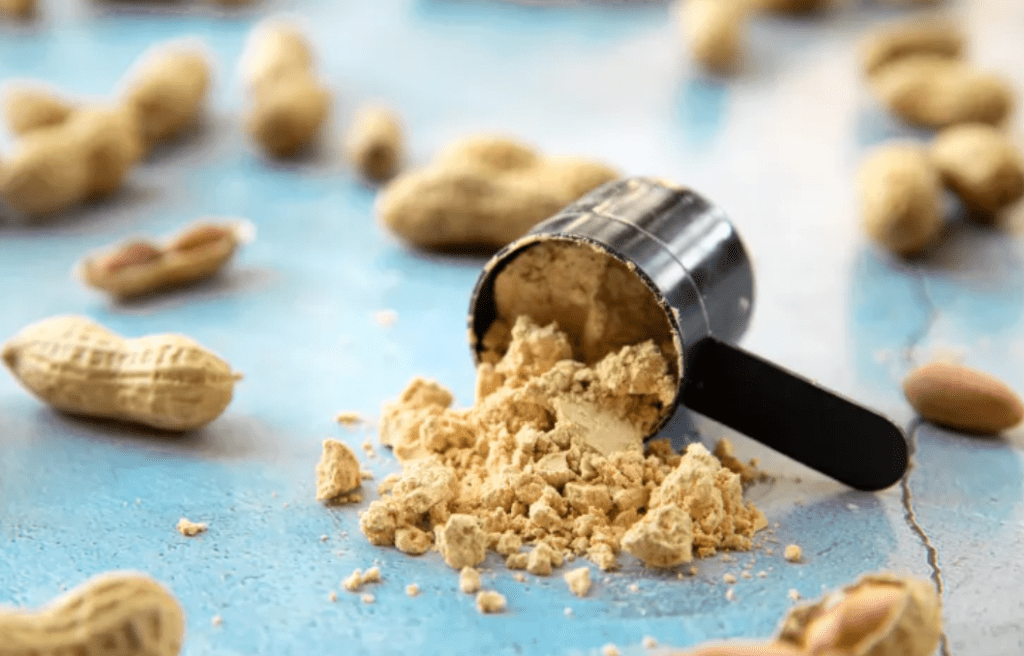
Many “healthy” powders contain almond flour, cashew butter, or “natural flavorings” that are actually derived from nuts. Labels often disguise these in vague terms. That’s why if you’re allergic, it’s crucial to double check brands, research sources, and choose protein powders that are labeled definitely nut-free so there are no potential risks or gray areas.
3. Flavored Coffees and Creamers
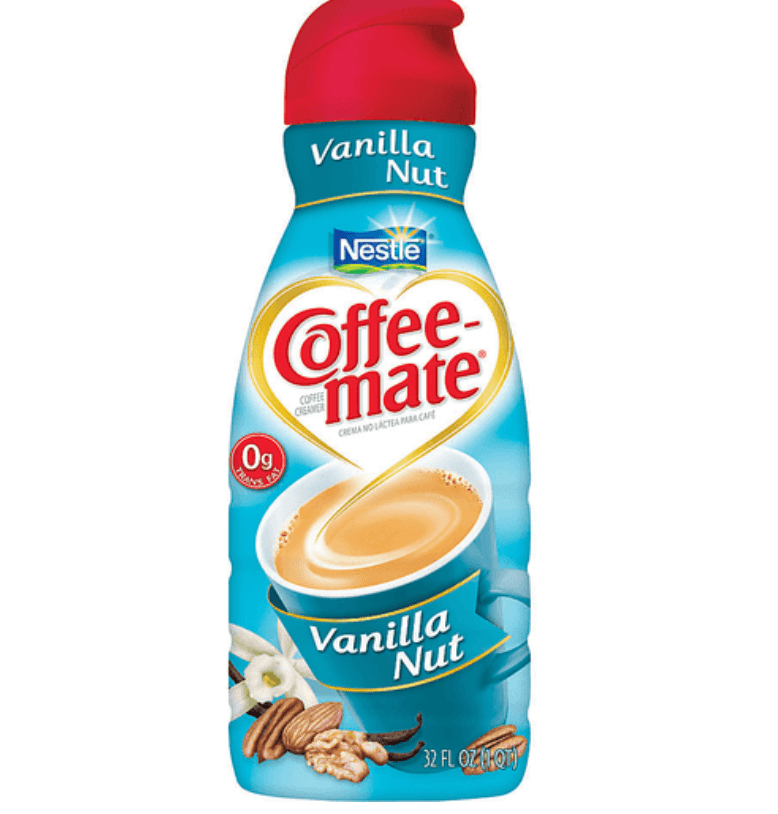

Walking into Target or any grocery store, the opportunities to spice up that black cup of coffee are endless. Whether it be caramel almond, hazelnut, Reese’s peanut butter cup, or macadamia-flavored creamer. As a result of this fun, flavor filled opportunity, many small local coffee shops, and even commercialized ones such as Starbucks, utilize these different flavored drink options. However, these syrups and creamers may subtly contain nut extracts or be processed on shared equipment with nuts that you wouldn’t have even thought of. Even whipped toppings and “caramel” syrups can contain hidden nut proteins. That is why it is crucial to be conscious and aware of the possible hidden ingredients when dealing with allergies.
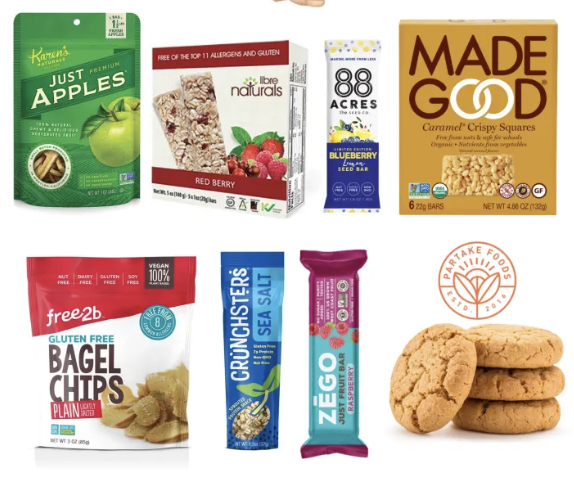
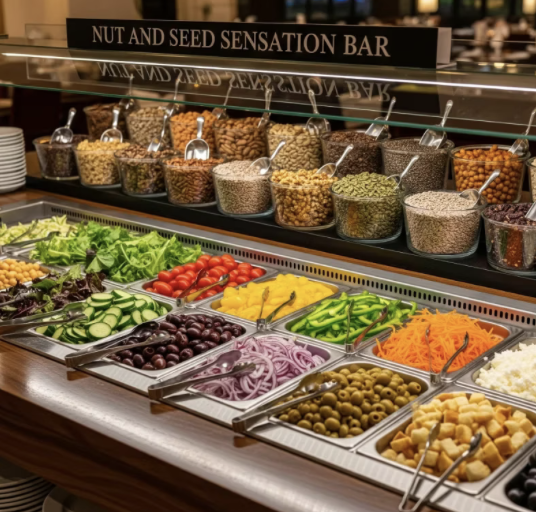
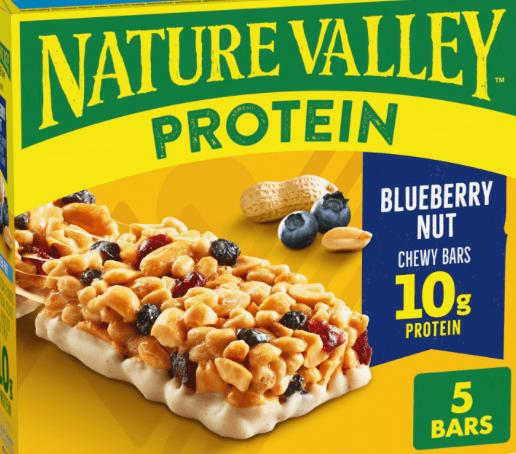
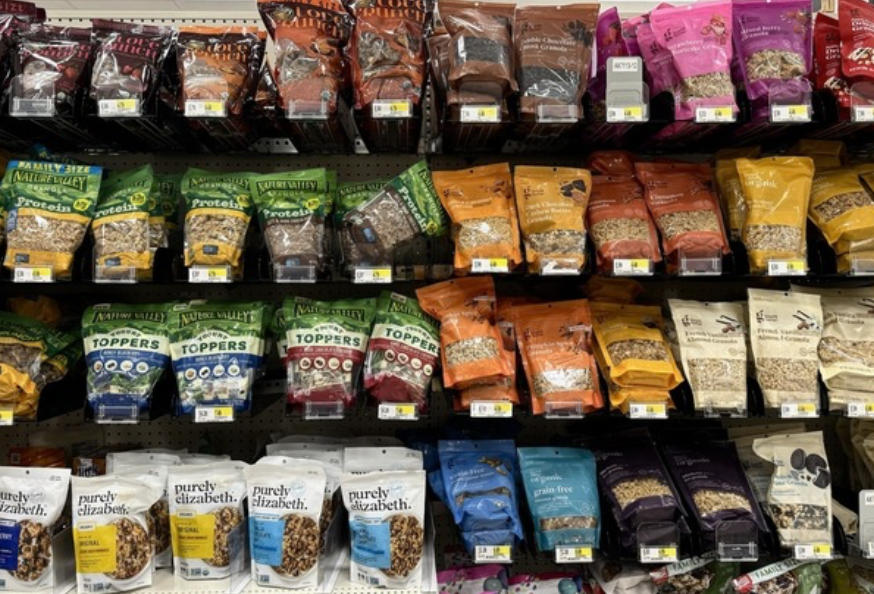
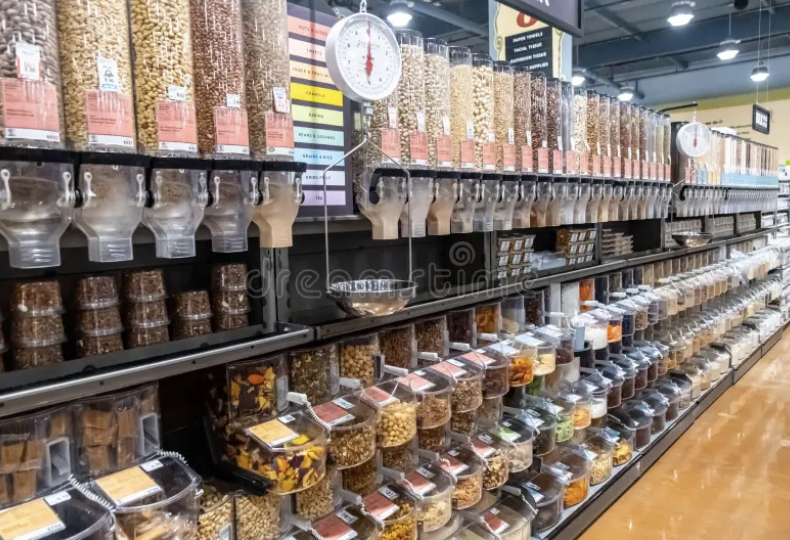
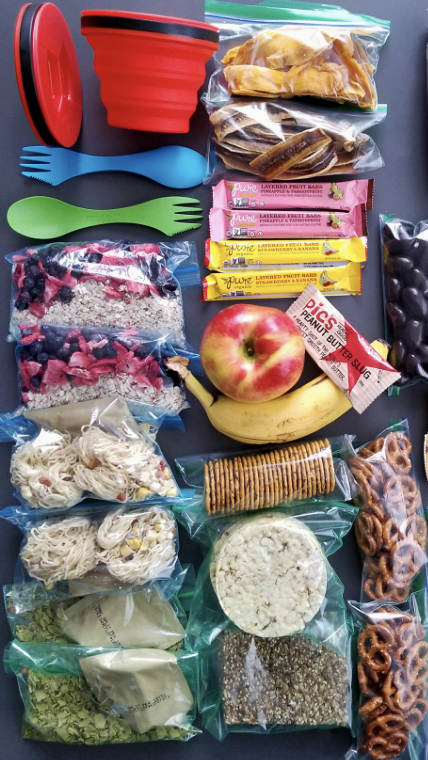
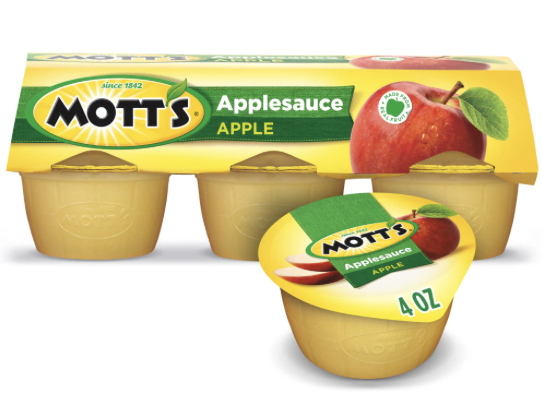
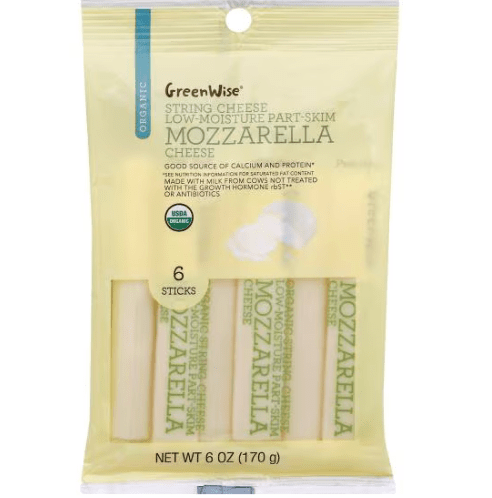
4. Pre Packaged “health” snacks
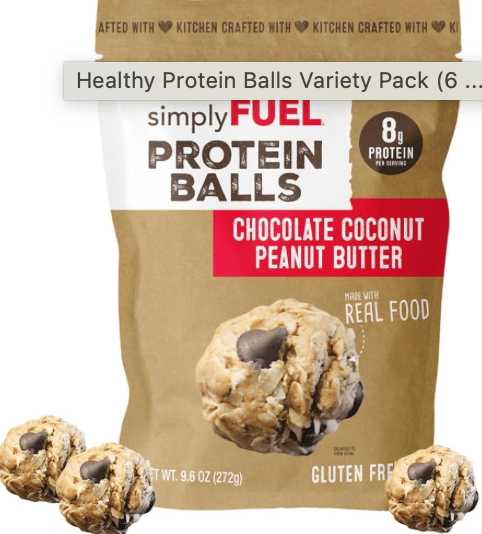
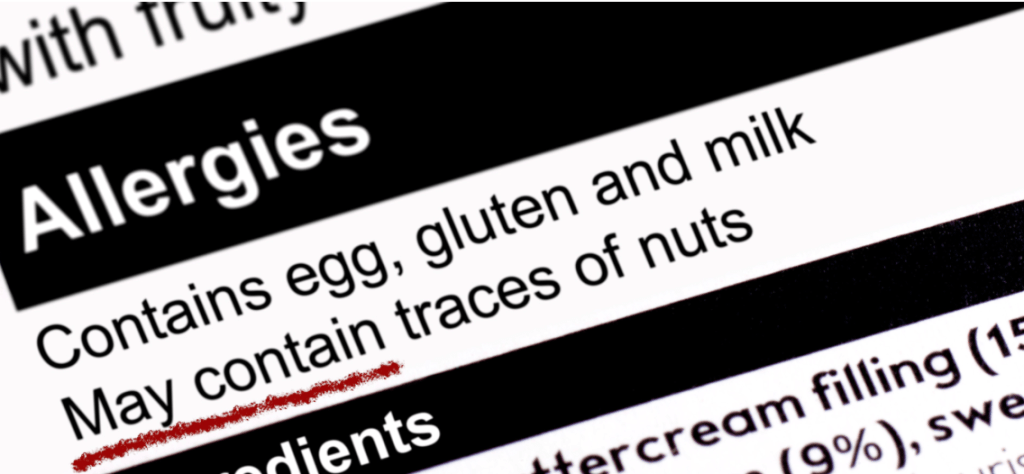
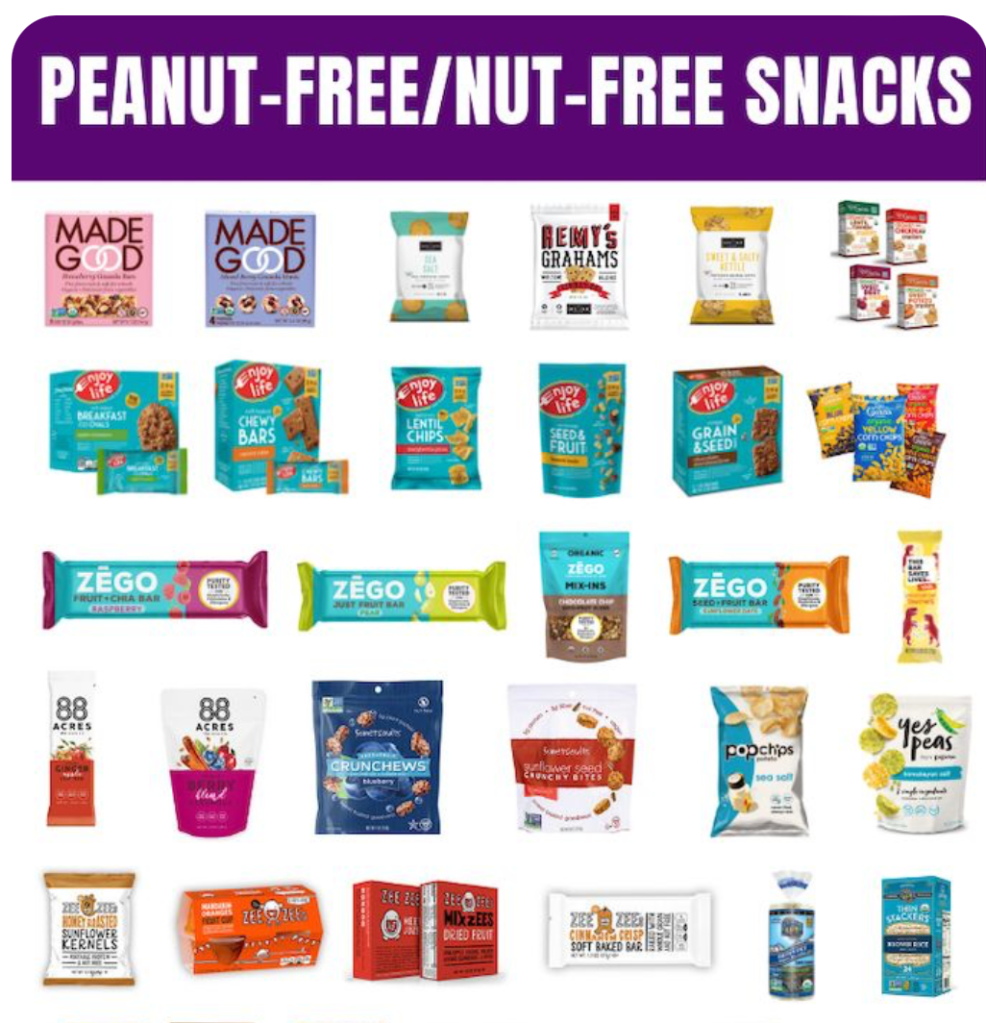
Foods such as healthier, oil-free seed bars, granola clusters, protein bites, and trail mixes usually tend to include nut flours or are made on shared lines with these products. Peanut butter is substituted with oil, cashew milk is substituted with regular dairy milk, and almond flour is substituted for the carb-filled all-purpose flour. These subtle changes without knowing can lead to detrimental reactions, which is why it is imperative to always scan for “may contain nuts” warnings, read behind the fine print, and read every single word, even if the main ingredient list seems safe.
5. Perfumes and Fragrances
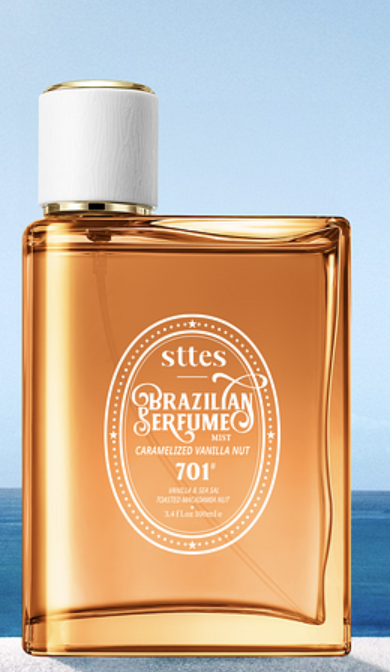
Many perfumes, such as the popularized Sol de Janerio at Sephora, actually use nut oils as their base, especially almond or macadamia oils. While some people assume smelling a perfume is safe as there are no ingestion, oils can still transfer to your skin or accidentally reach your lips or hands, creating a risk, thus proving an important point to always be aware of perfume products such as these..
6. Makeup

Many popular lipsticks, blushes, and bronzer powders actually contain nut oils or butters like almond, shea, or macadamia. Also, even if the ingredient list doesn’t explicitly say “almond oil,” terms like Prunus amygdalus (sweet almond) can sneak in. So, applying products near your mouth, eyes, or hands can lead to accidental exposure.
Additionally, within large makeup stores such as Sephora and Ulta Beauty, open testers are widely used to test potential purchases. However, these are also a huge allergen cross-contact hazard. This is because even if a product is technically nut-free, it can be contaminated with an allergen if multiple people touch it, or if it’s been handled near products containing nuts. That’s why for those with severe allergies, avoiding testers or bringing your own sealed products is always the safest bet.
Ultimately, allergens, especially such as nuts, hide in more places than you’d expect. Labels are your first line of defense, but awareness is another crucial part. Reading every ingredient, researching brands, and asking questions can make the difference between a safe snack and a dangerous reaction. Remember, living with a nut allergy isn’t about fear, it’s about understanding the hidden risks in certain situations and navigating the world with confidence.
You got this!!!